Solid Connections: Effective Techniques for Fixing Timber to Brickwork
- Sep 14, 2025
- 5 min read
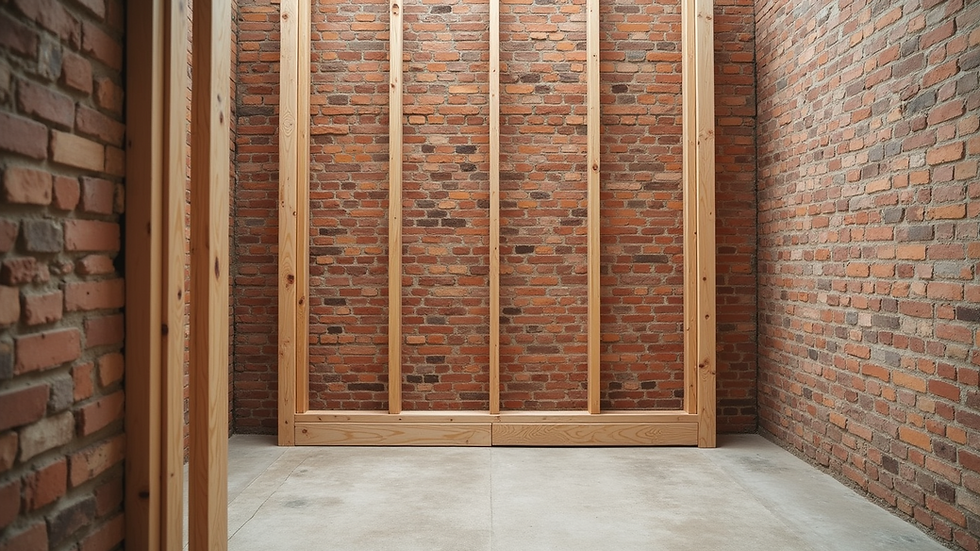
Whether you're a seasoned construction worker or a dedicated DIY enthusiast, attaching timber securely to brickwork is a fundamental skill. From installing simple shelving to constructing a robust timber frame, getting this connection right is crucial for the safety, durability, and structural integrity of your project. This guide will walk you through the most effective techniques, ensuring your timber-to-brick connections stand the test of time, all while touching upon vital UK building regulations.
The Gold Standard: Mechanical Fasteners
For most applications, especially those carrying any significant load, mechanical fasteners are the undisputed champions. They provide a strong, reliable, and secure connection that adhesives simply can't match for long-term structural integrity.
Your Toolkit for Success
Before you begin, gather these essential items:
Hammer Drill or Impact Drill: This is non-negotiable for drilling into hard masonry. A standard drill will struggle and likely burn out.
Masonry Drill Bits: Ensure these are sharp and match the diameter of your chosen fasteners.
Safety Gear: Always wear safety glasses, a dust mask (especially when drilling), and gloves. Brick dust is not something you want in your eyes or lungs.
Pencil and Level: Precision is key for a professional finish.
Vacuum or Aspirator: Crucial for clearing dust from drilled holes.
Fasteners: Your choice will depend on the weight and type of timber you're fixing.
Step-by-Step: The Professional Approach
Marking for Precision:
Use your pencil and level to meticulously mark the exact points on both the timber and the brickwork where your fasteners will go.
Pro Tip: Always aim to drill into the solid brick itself, not the mortar joints. Mortar is softer and will provide a significantly weaker hold. Avoid drilling too close to the edge of a brick, which can cause it to crack.
Drilling the Pilot Holes:
Attach the correct masonry drill bit to your hammer drill.
Drill directly through the timber and into the brick. The depth of your hole in the brick should be slightly longer than the fastener you intend to use. This extra depth acts as a reservoir for any remaining dust, ensuring the fastener can fully engage.
Clearing the Debris:
This step is often overlooked but is absolutely vital. Use a vacuum, an aspirator, or a brush to thoroughly clear all dust and debris from the drilled hole in the brick. A dusty hole will severely compromise the fastener's grip.
Inserting and Securing the Fastener:
Carefully insert your chosen fastener.
If using an impact driver with masonry screws, be mindful not to overtighten. Overtightening can strip the threads you've created in the brick, effectively ruining the connection. Apply firm, controlled pressure until the timber is snug against the brick.
Choosing the Right Fastener
The market offers a variety of fasteners, each suited for different applications:
Masonry Screws (Concrete Screws): These are fantastic for most DIY and lighter construction projects. They are self-tapping, meaning they cut their own thread into the brick, eliminating the need for a separate plastic plug. Ideal for battens, furring strips, or wooden frames.
Masonry Plugs and Screws: A time-tested method. A plastic plug is inserted into the pre-drilled hole, and then a screw is driven into it. The plug expands as the screw enters, creating a strong grip.
Frame Fixings: Similar to plugs and screws but designed with longer sleeves to accommodate thicker timber frames, providing a secure fix through multiple layers.
Chemical Anchors: For very heavy loads or in situations where traditional fasteners might crack the brick (e.g., closer to edges). A resin is injected into the hole, and a threaded rod is inserted. The resin cures, creating an incredibly strong, waterproof bond. Requires careful application and cure time.
Expansion Bolts (e.g., Rawlbolts, Shield Anchors): Reserved for the heaviest-duty applications where maximum pull-out strength is paramount. These feature a metal shield that expands significantly as the bolt is tightened, providing an incredibly robust mechanical interlock with the masonry.
The Adhesive Alternative (for Lighter Loads)
For very lightweight items, or in situations where drilling is undesirable (e.g., purely aesthetic trim that carries no load), high-strength construction adhesives can offer a solution.
Recommended Adhesives: Look for modern "grab" adhesives like CT1, Soudal Fix All, or Gorilla Glue's Construction Adhesive. These are formulated to bond various materials, including wood and masonry, often providing immediate grab.
Application: Ensure both the timber and brick surfaces are clean, dry, and free from loose debris. Apply the adhesive in a zigzag pattern or continuous beads to the back of the timber. Press firmly against the brickwork.
Temporary Support: For optimal curing, use temporary supports (props, clamps, or even masking tape) to hold the timber in position until the adhesive has fully cured, which can take 24-72 hours depending on the product and conditions.
UK Regulations: Building Smart, Building Safe
In the UK, fixing timber to brickwork isn't just about making it stick; it's about making it safe and compliant. Key regulations fall under the Building Regulations 2010 and are supported by British Standards (BS) and Approved Documents.
Structural Integrity (Approved Document A):
Any connection that affects the structural stability of the building (e.g., attaching floor joists, roof timbers, or load-bearing frames) must be designed and specified by a qualified structural engineer.
Fasteners chosen must be appropriate for the anticipated loads (dead loads, live loads, wind loads). Over-specifying is always safer than under-specifying.
Adhere to manufacturer's instructions for all fixings.
Damp and Rot Prevention (Approved Document C):
This is paramount. Wood in direct, unprotected contact with masonry can absorb moisture, leading to rot, fungal decay, and eventual structural failure.
Damp Proof Course (DPC): Never allow timber to bridge or sit directly on a DPC that is not fully protected. External DPCs must be at least 150mm above ground level.
Separation: Where timber meets brick, always consider a physical barrier. This could be a damp-proof membrane (DPM), a breathable membrane, or an air gap to prevent moisture transfer.
Treated Timber: For any timber used in external applications or where there's a risk of moisture ingress, ensure it is pressure-treated (e.g., "Tanalised" timber) to resist rot and insect attack.
Fire Safety (Approved Document B):
For timber-framed buildings with brick cladding, or where timber forms part of a fire-resisting structure, cavity barriers are essential. These prevent the spread of fire and smoke through hidden voids.
Your connection method must not compromise the overall fire resistance of the wall or the timber.
Materials and Workmanship (Approved Document 7):
This overarching regulation mandates that all building work must be carried out using "adequate and proper materials" and "in a workmanlike manner." This means using the right materials for the job, installing them correctly, and demonstrating competence.
Final Thoughts
Fixing timber to brickwork correctly is a skill that blends precision, knowledge of materials, and an understanding of building regulations. For any significant structural work, or if you're ever unsure, always consult with a qualified builder or structural engineer. By following these guidelines, you'll achieve secure, compliant, and professional results every time.


Comments